Every person who owns their home is not happy unless the house looks the best it can. This may mean the yardwork, the repairs, the sidewalks and even the driveway are all in perfect shape.
Contents
However, one aspect that many homeowners do not consider would be outdoor furniture. Now we all need to admit that outdoor items are not made the way they once were. They are made with lighter metals now that rust through easily.
There was a time when people made the investment in outdoor furniture, it was just that. Basically an investment. The metal was much heavier and meant to last for years instead of seasons.
This may be one reason that so many are out looking for Vintage or Antique lawn decor. They want furniture that not only sets them apart from their neighbours, but they also want their yard and the patio to be a showplace, a showstopper.
Most often, the furniture that you find in the stores today may appear to have the same design, but the metal is nowhere near the same. A perfect example was when my daughter called home so excited that she had found a wrought iron bird bath for a certain area of our yard. She described it, and I knew when she said lightweight, this was not a wrought iron piece.
Needless to say, she did purchase it, it is held down by rocks since it is not heavy. It is a bronze-coloured paint over plastic.
The point is that someone did manage to make it look like a vintage piece. However, this post is not about making plastic look Vintage. Imagine you visit a thrift store and find the perfect, well almost perfect items for your yard. The problem is how do you refinish these items and make them look old so that they will fit in with the rest of your lawn items and patio furniture. Within the post, you will learn how to bring back the life of your wrought iron and make it look elegant once again.
What You Need To Make Wrought Iron Look Antique

This is not going to make it a quick process. To make your wrought iron look Antique it is going to take time. You will also need certain tools that are going to help you throughout this process. Gather and set the tools needed to the side:
Paint Brush to help get paint into the nooks and crannies.
Vinegar and Water mix. This should be a 50/50 mix. This solution will help to remove the debris, dirt and grime from the furniture. The solutions could be substituted with a simple solution of dish soap and warm water.
Bleach and Water Solution will help to remove any mould or mildew spotted on the furniture as you are removing the old paint.
Primer is a base coat of paint that is applied before the final coat. In order to choose which primer to use, you need to have decided what paint you will be applying to the furniture or lawn item. It is important to remember that not all paint is compatible with other paints.
Paint could be a challenge to choose from. There are multiple options now, they have chalk spray paint, a spray paint that is meant to combat rust, and then you have the simple outdoor spray paint.
I have not done complete research on all of these types, so be sure that you speak with the salesperson at the store. They should be able to give you the answers to any questions in regards to the paints.
Drop Cloth to help prevent other areas of the furniture of wrought iron from getting paint that you do not want on the area.
Painters Tape is a helpful item if you plan to use multiple colours or divide the area into more than one section. For instance, the seat and the seat frame. The tape will prevent the opposite area from getting paint on it.
Getting Ready
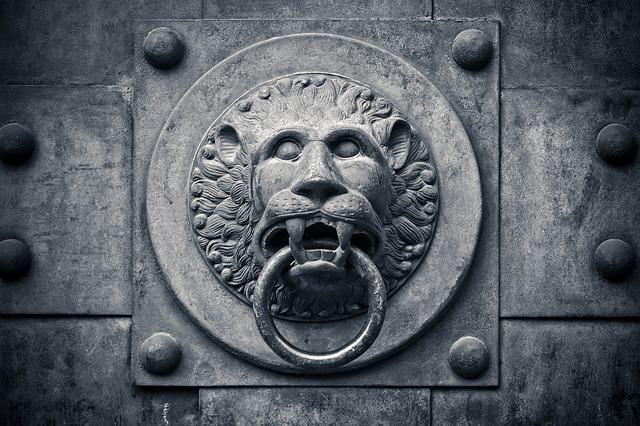
Once you have all the equipment and tools that you need, you are ready to begin. Obviously, the first step is going to be cleaning the item off. Most often, the item or the furniture is likely covered in dirt and cobwebs, so it should be easy to clean.
Either of the two solutions, the soap and water or the vinegar and water will remove the debris and dirt. Use a brush if there are intricate twirls or spindles on the item. The brush will help get into the tight areas.
You need to be sure that the weather is acceptable for painting. The temperature cannot be lower than 50* and the humidity cannot be higher than 80*.
Remove the Old
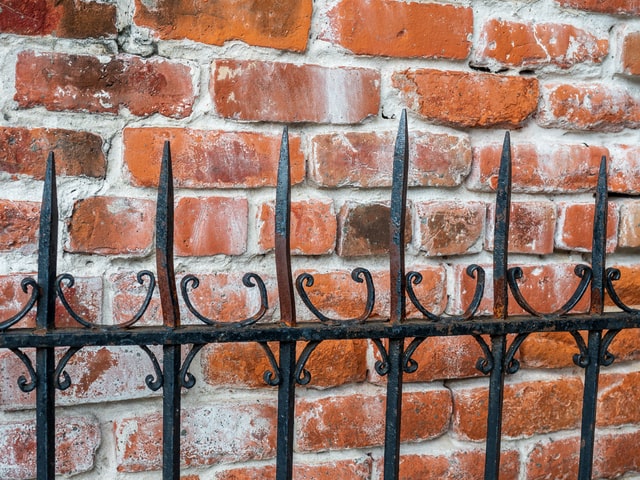
Removing the old paint will only need to be done in the areas that need an uplift or renewal. Keep in mind that you want the item to have an Antique look. Using the solution of vinegar and water is going to help remove the loose paint areas.
Primer
Once the wrought iron that you cleaned is dry and free of mildew or mould, it is time to use the primer. The primer is also going to help smooth out the wrought iron so that the paint that you apply will have a smooth and even appearance.
The primer also sets a base that prevents you from having a difficult time applying the paint.
Paint
It is finally time to apply the paint that you have chosen once the primer has dried. You are going to want to cover the entire item with paint. Yes, you have a primer on the wrought iron, however, the primer is just the base coat. It will also help make the new paint appear smoother, and it definitely covers up any rust that is on the wrought iron.
Use the paintbrush to help get the paint into the tight areas, the decorative spindles, if any and all areas that may be difficult to be sure the paint gets to.
The suggestion to get the Antique look you desire is to make random brush strokes. Do this with very little pressure applied to the brush. Also, be sure to not apply too much paint to the wrought iron. The excess paint will drip and will not look like the painting was done appropriately.
Once you have covered the entire Wrought Iron item, it needs time to dry. It would be best if you can give the Wrought Iron at least 3 to 4 days to completely dry, or cure.
Faux Finishing
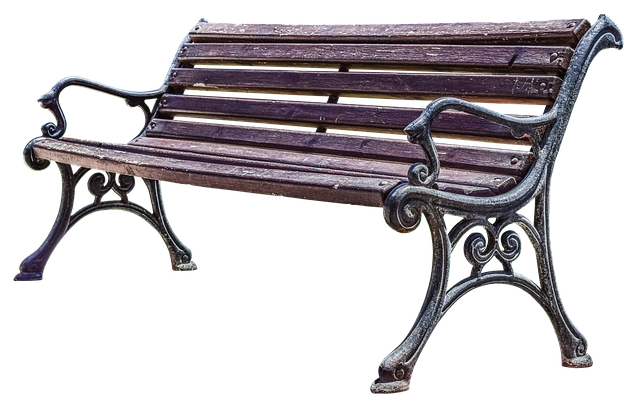
This is a method in which the painter is able to paint the item to look rusty, or just with crackling in the paint. Most people will paint with a faux finish because they like the look of rust without having the destructive aspects of the rust.
There are techniques to research in order to give your wrought iron the appearance of rust. Faux Finishing would also include the crackle paint that is offered for sale in many home improvement stores. A simple method of making an item look as though it is rusted is to use multiple colours of paint and some ordinary sand. This may take some practice, but you would be able to master it easily.
Another method of making a wrought iron item look old is to paint the base as one colour, and then very lightly use another colour over the top and using a cloth, wipe the paint very lightly. You want to leave some paint on while removing other areas of paint over the base coat.
Tips and Tricks
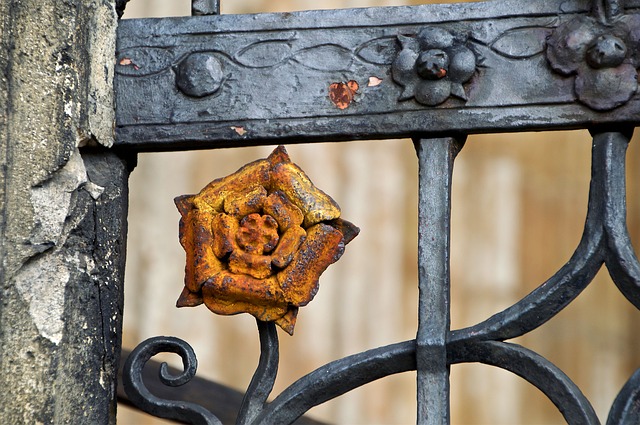
The amount of paint that you apply to the wrought iron can be different from professional to professional. Not each person will agree to the way you paint an item to give it an antique appearance.
There are some who will even tell you that you should allow areas of the old paint to show through. They believe this gives it class. Others believe that the entire piece should be covered with the type of paint that makes it look antique.
Personally, there is a paint available that once you follow the directions, you will have a crackled and seriously vintage look to the wrought iron. This would be the choice for many people in order to retain the appearance of an aged Wrought iron piece of lawn decor.
With all the possibilities in Home Improvement Stores today, you can bring out a whole new look to your wrought iron. Research and have discussions as to the type of paint you would like to use, and the full effects of the end result that you desire. Your wrought iron can end up looking absolutely stunning when you use the knowledge to paint it in a way that will make it look refreshed, yet still Antique.
The most important aspect is to remember to wipe off some areas that will enable the wrought iron to look antique. A darker colour should always be used over the lighter shades, This will then give an appearance that the lighter shade was used after.


